Pork Stuffed Poblano Chiles
Chiles Rellenos are one of the best known and loved Mexican foods. Chile relleno translates as “stuffed chile.” If you have never had them, they are Poblano chiles that are stuffed with pork, beef or cheese and then are battered and fried and served covered in salsa roja. Heaven on a plate. Don’t you agree?
![Chile Relleno in Salsa Roja]()
Visual Recipe for Authentic Chiles Rellenos
Follow the visual guide to prepare authentic chiles rellenos. The full printable recipe is at the end of the guide. Let’s get cooking!
How to Make Chiles Rellenos
Don’t be intimidated by this recipe. It does take some effort to prepare, which is well worth it, but anyone can do it. If you follow the guide carefully you will have prepared some amazing traditional chiles rellenos.
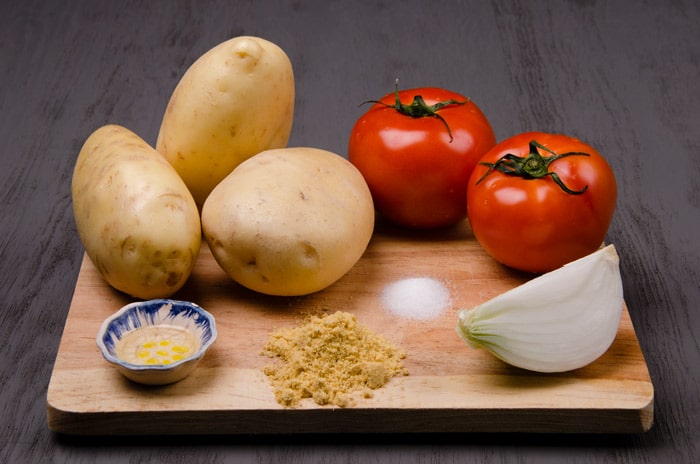
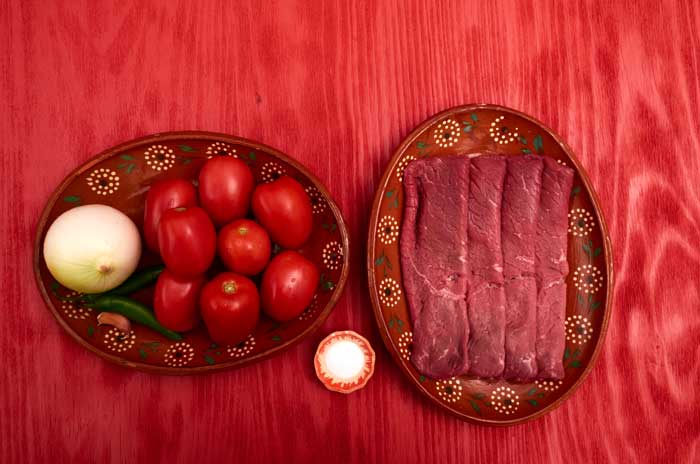
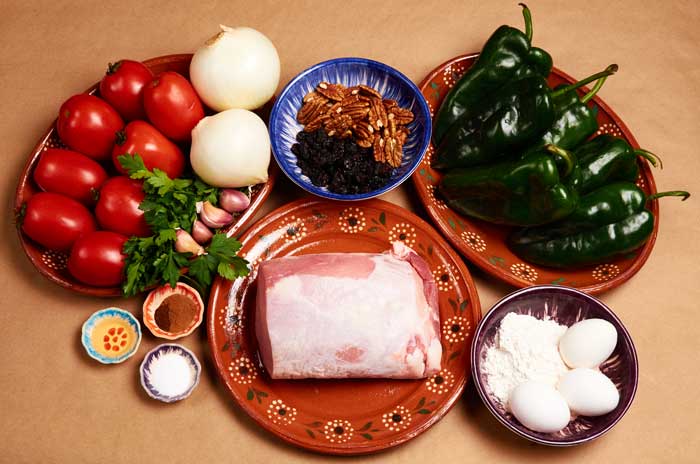
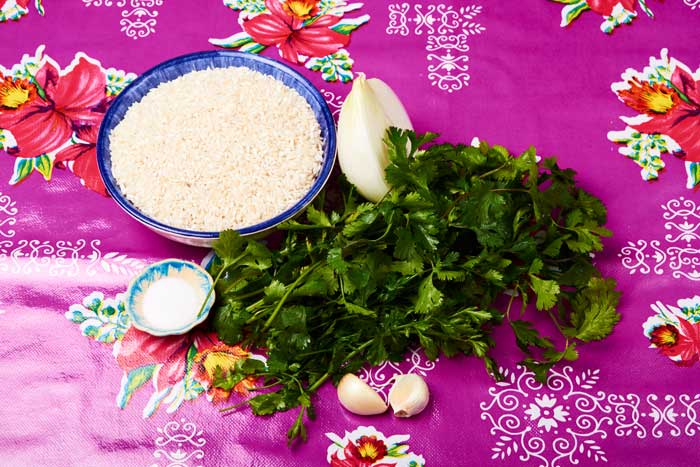
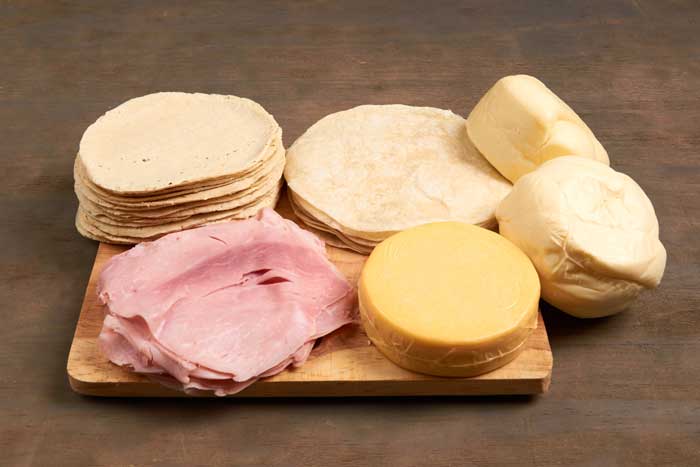
![Ingredients Chiles Rellenos]()
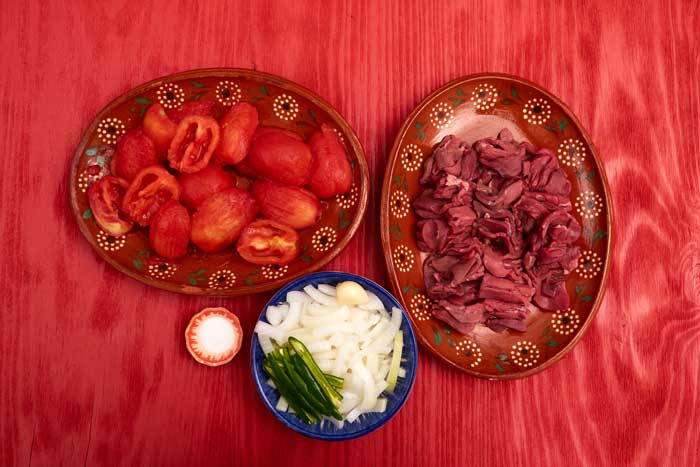
All the ingredients for pork filled chiles rellenos.
To make chiles rellenos start by gathering all of your ingredients. The recipe has many ingredients and it is good to collect them all to ensure that you haven’t forgotten any. You don’t want to get half way through preparation and then have to make a run to the supermarket. This reminder comes from hard earned experience. ![:)]()
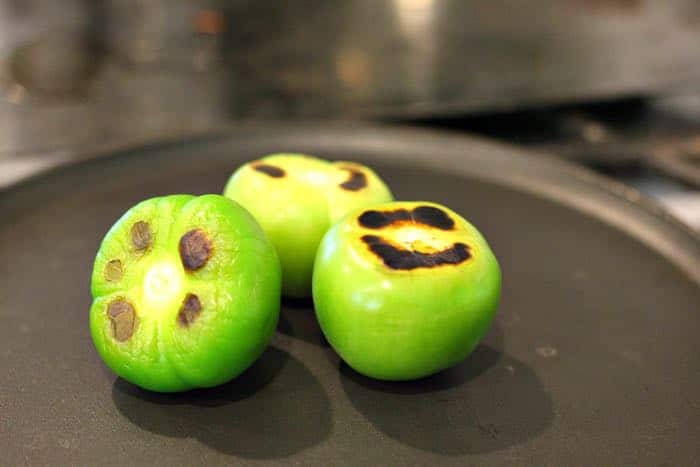
Prepare the Poblano Chiles
The recipe calls for Poblano chiles which must be cleaned before using. If you are not sure how to clean chiles, see our guide to roasting and peeling Poblano chiles.
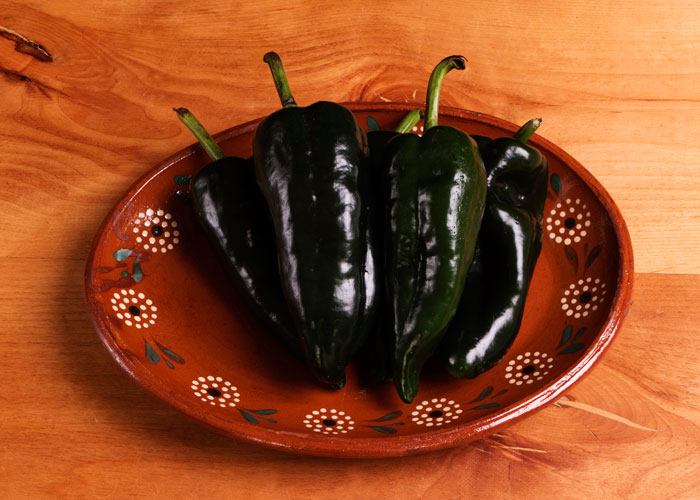
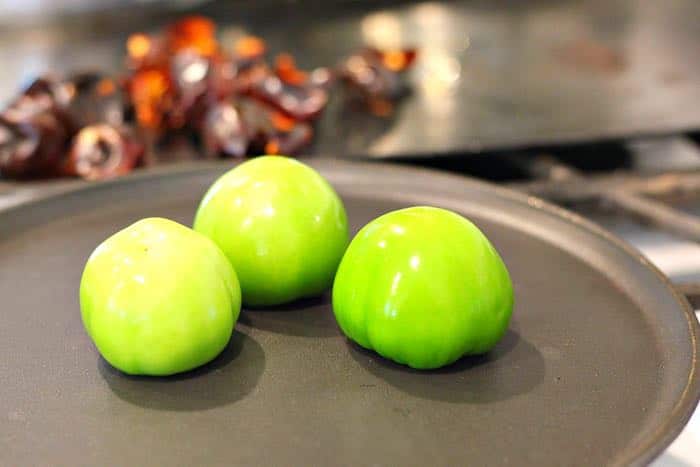
![Fresh Poblano Chiles]()
Fresh Poblano Chiles
Poblanos are flavorful and only mildly hot and hold up well to stuffing. They are the traditional chile for making chiles rellenos.
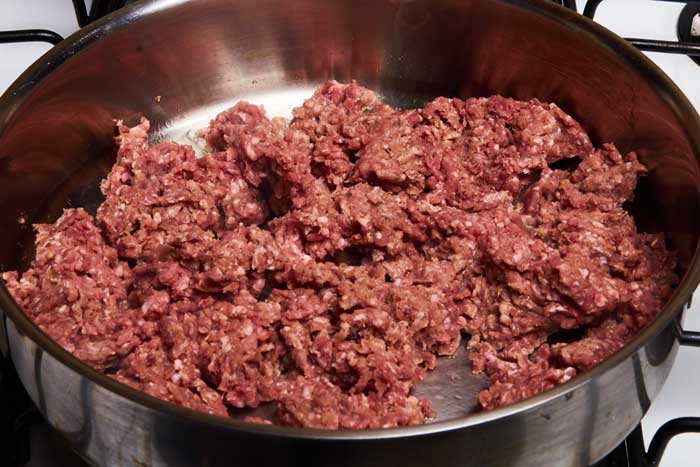
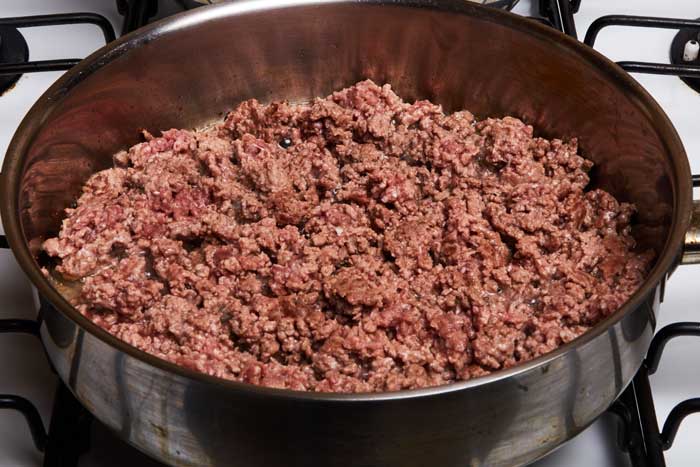
How to Make the Pork Filling
![Cooked Pork Filling Chiles Rellenos]()
Pork filling for chiles rellenos.
![Dianna Kennedy Book Signing]()
The pork filling for this recipe is adapted from a recipe in Diana Kennedy’s cookbook, The Art of Mexican Cooking. If this cookbook is not in your collection consider buying it. It’s a great resource for anyone who loves Mexican cooking. I was lucky enough to have Diana sign my copy at a book signing in San Miguel de Allende.
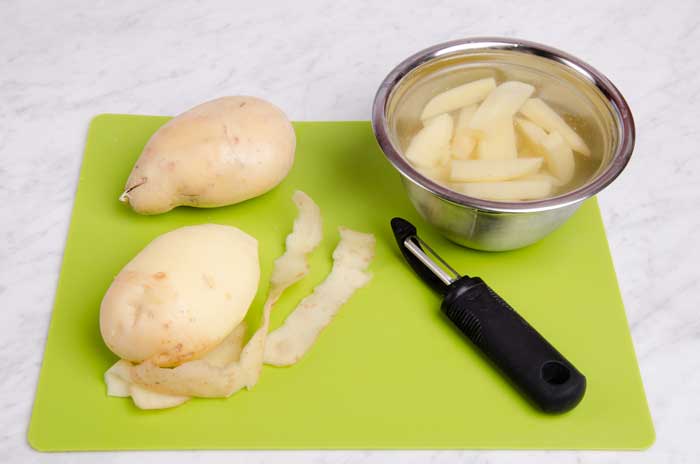
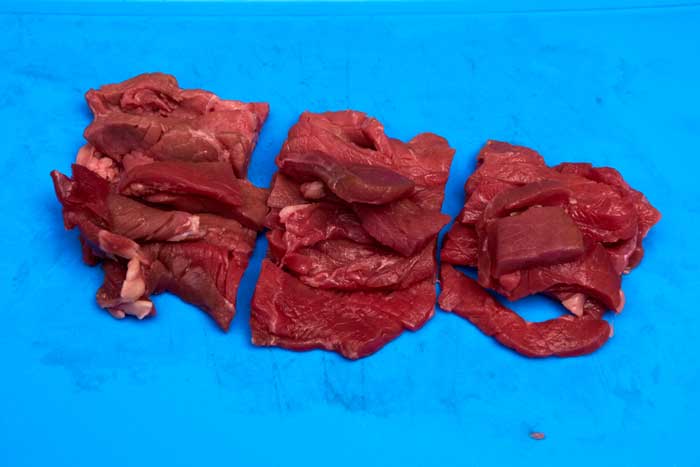
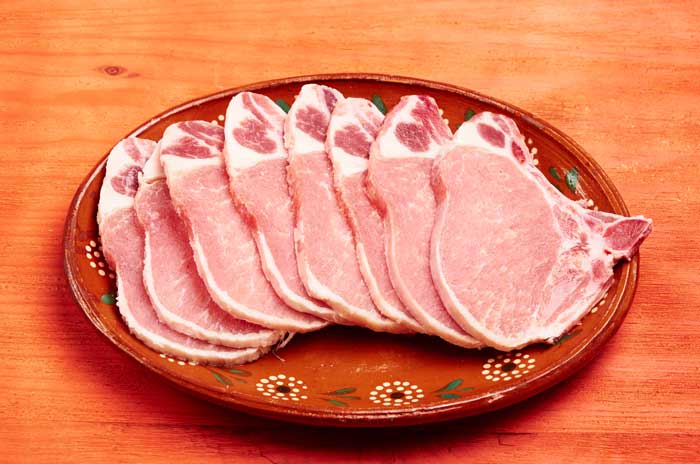
Prepare the Pork for the Filling
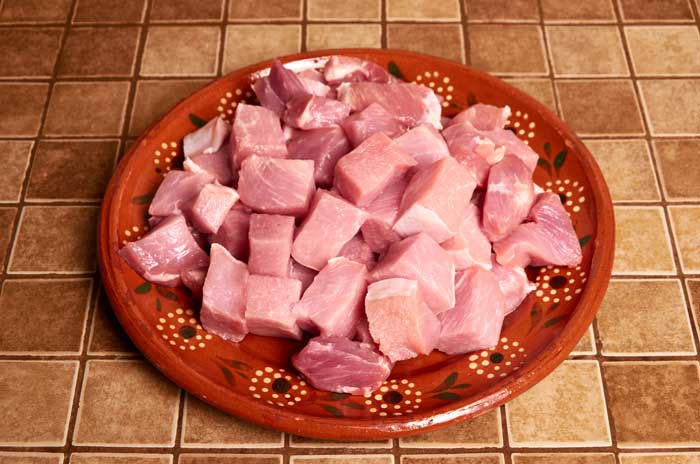
Loin roast is a good cut for this dish. Clean any tough membrane from the pork and then cut into 1″ to 1 1/2″ cubes.
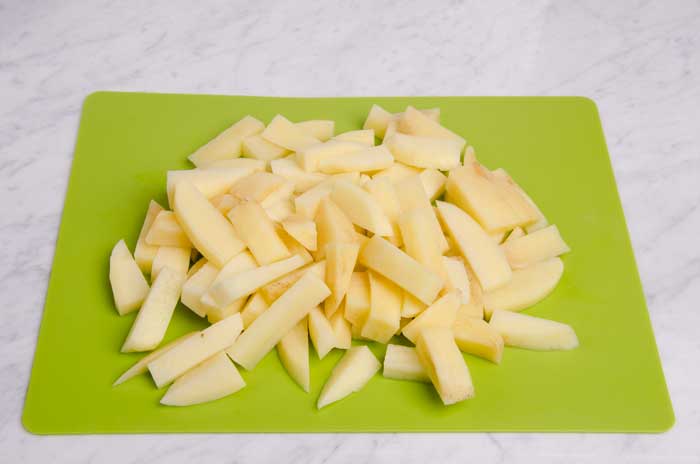
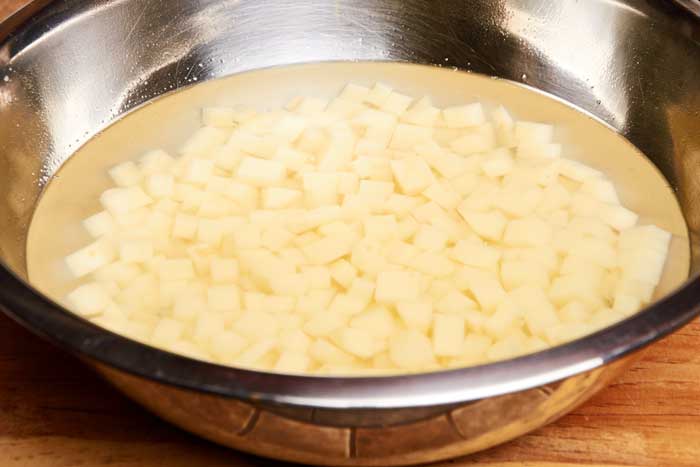
![Cubed Pork]()
Cut the pork into cubes.
You cube the pork so it cooks evenly. 1″ to 1 1/2″ cubes are fine. You don’t have to be too precise because you will shred and chop the meat after it is cooked.
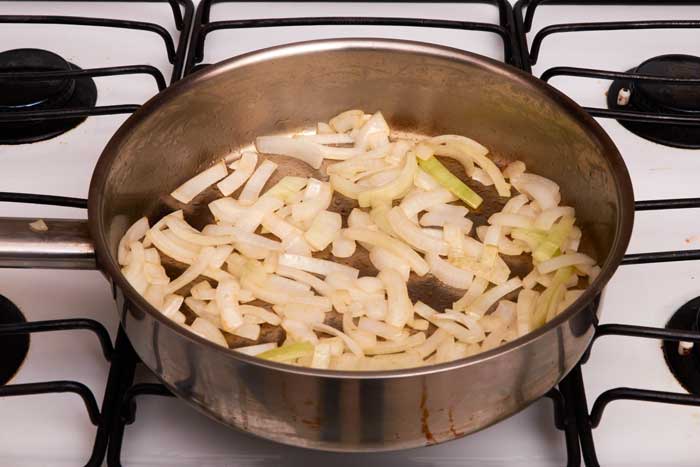
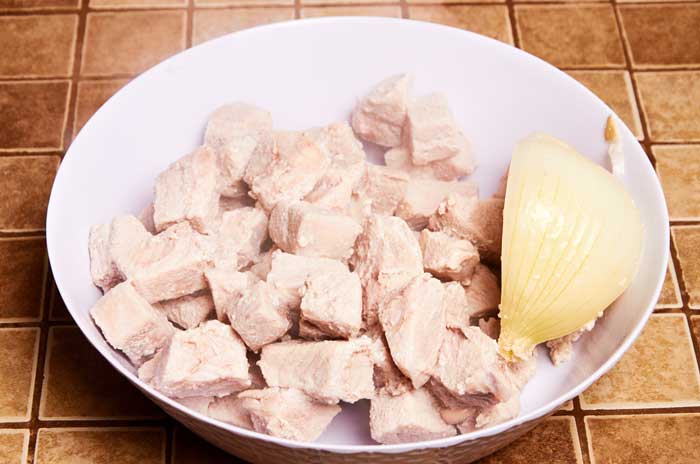
![Boiling Cubed Pork]()
Put the pork in a pot with 1/4 of a white onion and just cover with water.
Put the pork into a pot with 1/4 of a white onion and just cover with water. Bring the water to a boil and then reduce the heat to a simmer and cook for 35 minutes. Skim any scum that rises to the top.
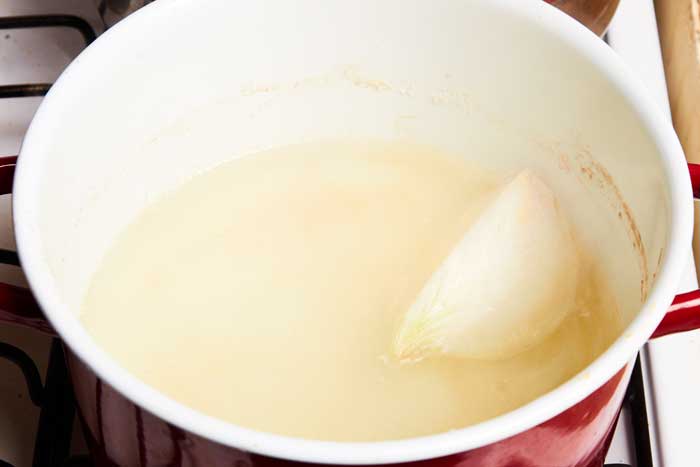
![Pork Broth]()
Remove the pork and simmer the broth to reduce it.
Once the pork is cooked remove it from the pot and and simmer the broth until it has reduced to about 1 cup of liquid. Reducing the broth concentrates the pork flavor. It will take about 10 minutes to reduce.
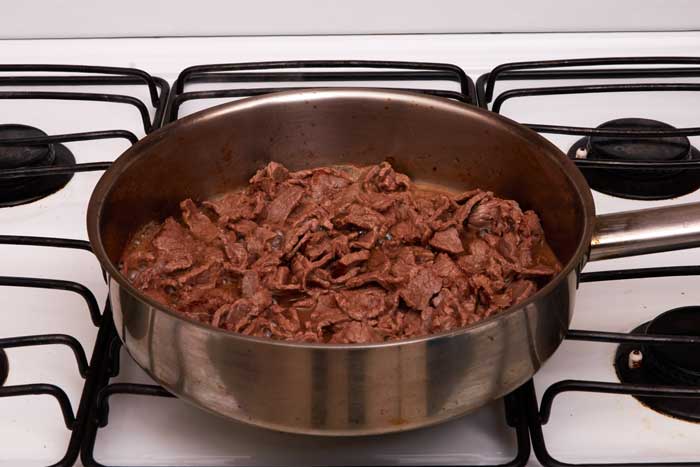
![Cooked Pork for Filling]()
The fully cooked pork.
You are ready to prep the filling.
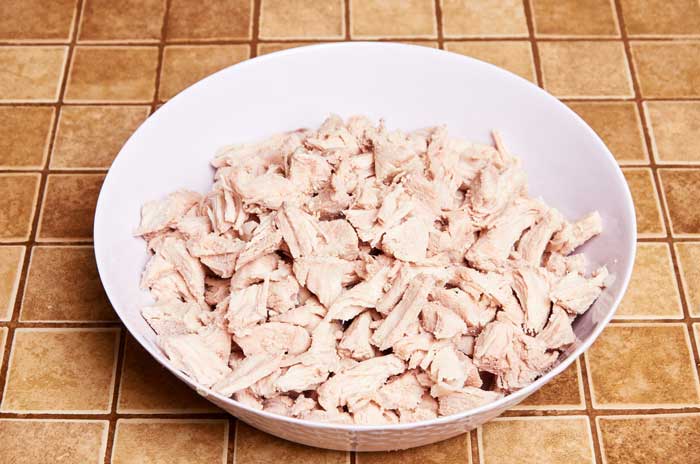
![Shredded Pork]()
Shred the pork with your fingers.
With your fingers break apart the pork into smaller pieces.
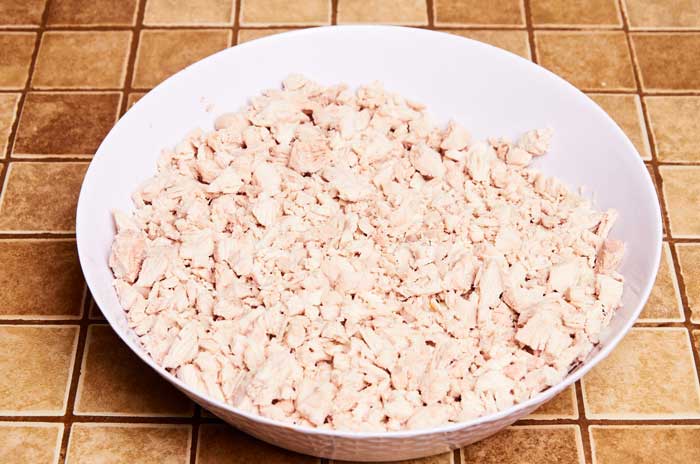
![Finely Chopped Pork]()
Then chop the pork finely.
Use a knife to chop the pork into fine pieces. Try to cut meat into evenly sized pieces.
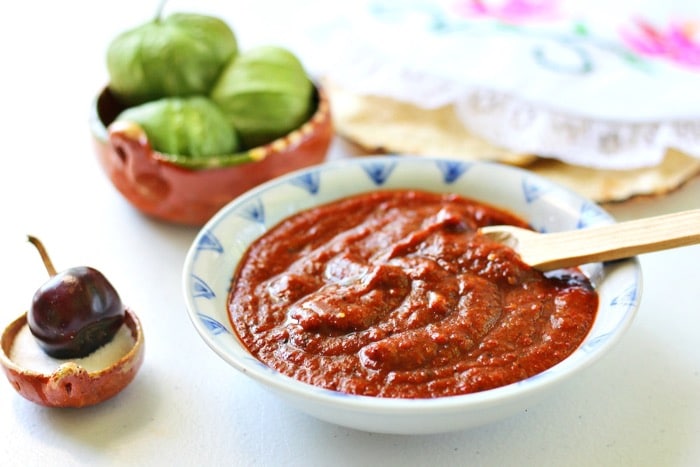
Prepare the Salsa
You will make two batches of this salsa to make the chiles rellenos. One batch is used to prepare the pork filling and the other batch is used when you serve the chiles rellenos.
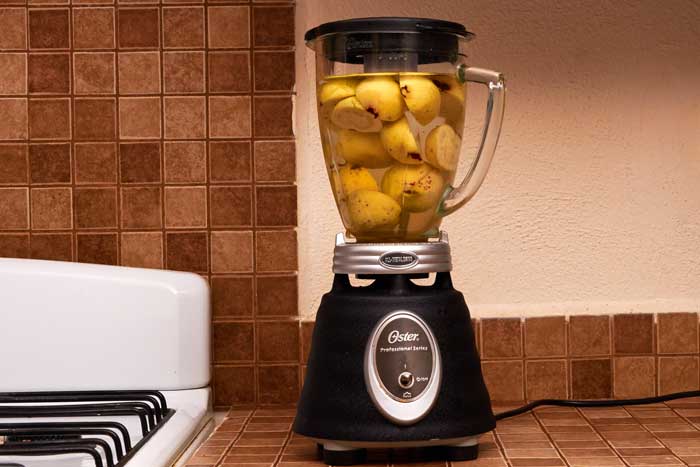
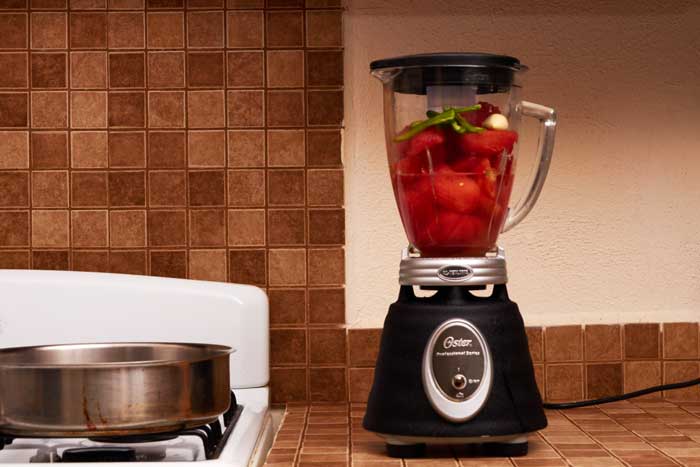
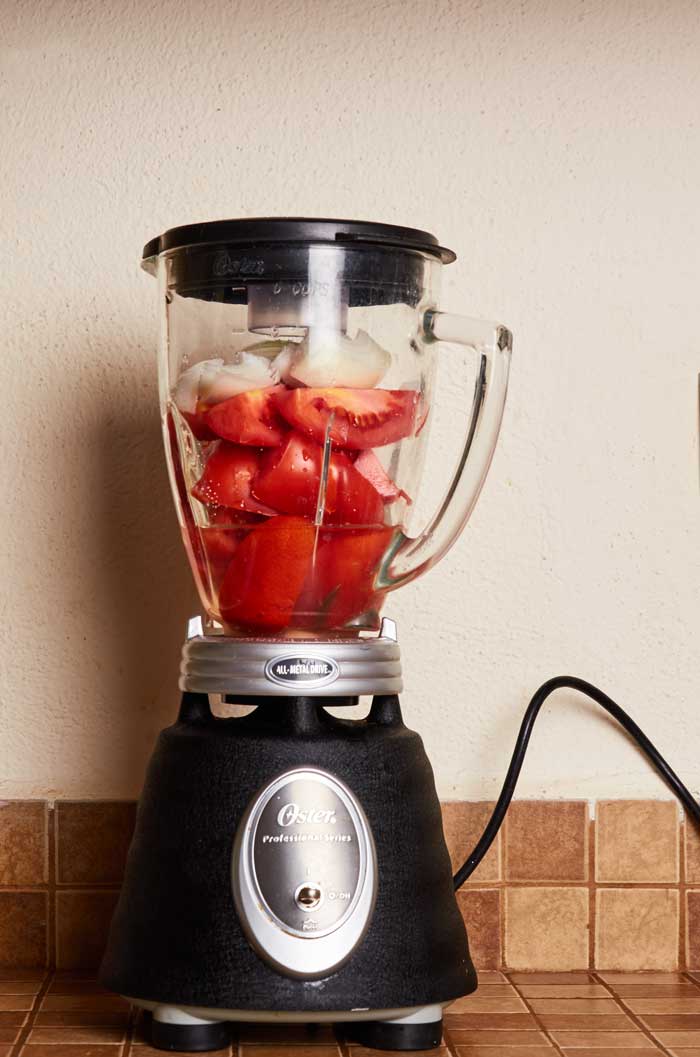
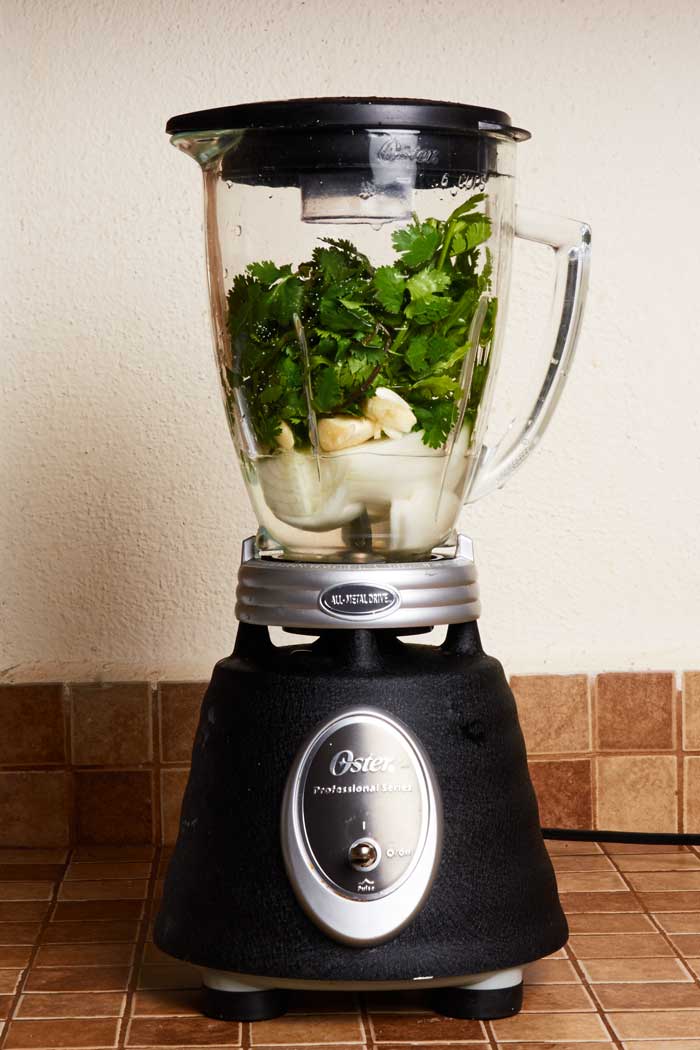
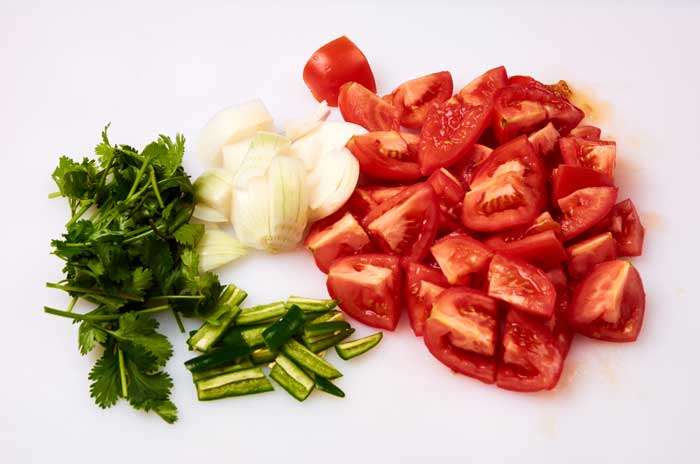
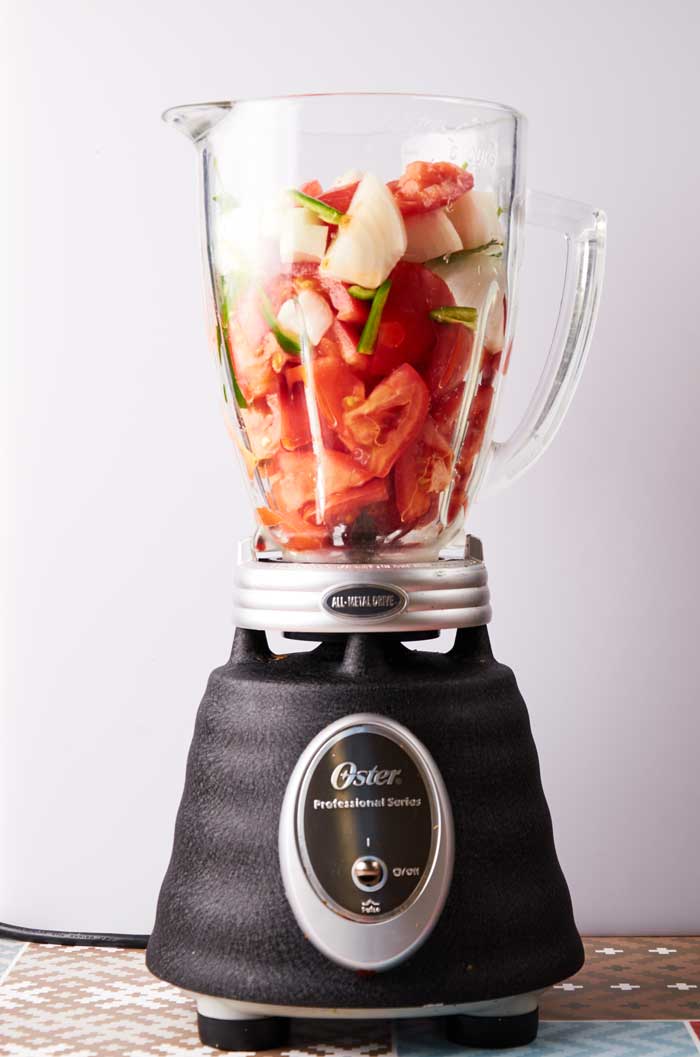
![Blend Salsa Ingredients]()
Put the ingredients in the blender jar with about 1/4 water.
Put the salsa roja ingredients into your blender. Add about 1/4 cup of water which is just enough to help the salsa fully blend without making it watery.
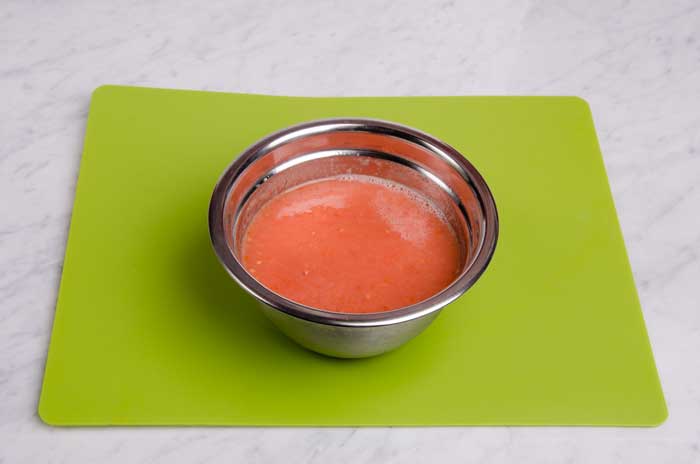
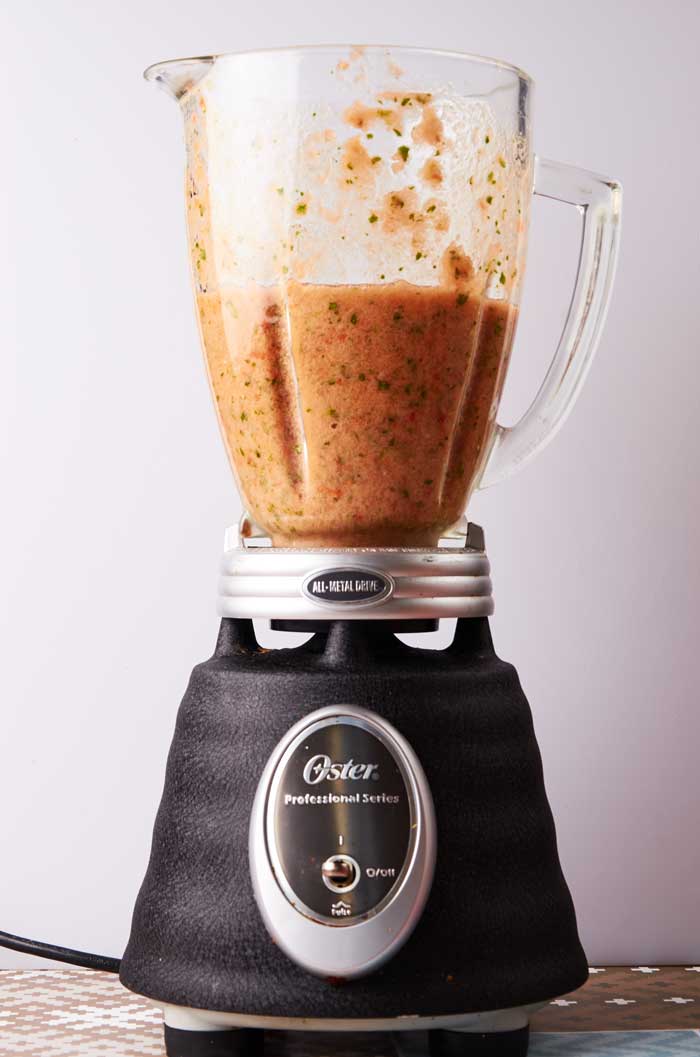
![Blended Tomato Salsa]()
Blend mixture for 1 minute.
Blend the salsa for about 1 minute. It should still have a bit of texture but it shouldn’t be chunky. Don’t be put off by the pale pink color of the salsa. It takes on a beautiful red color when fully cooked.
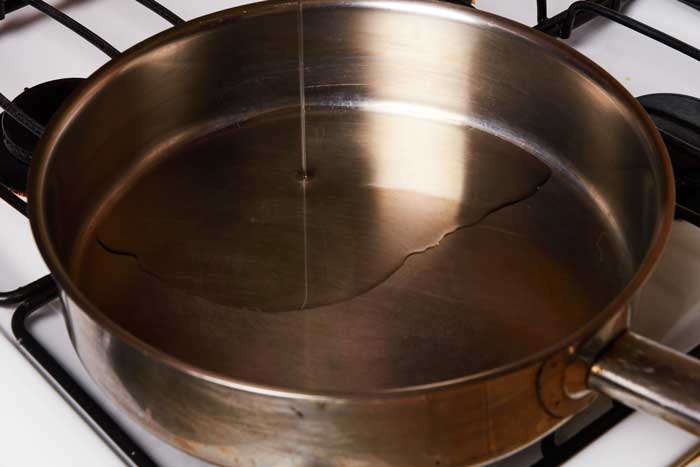
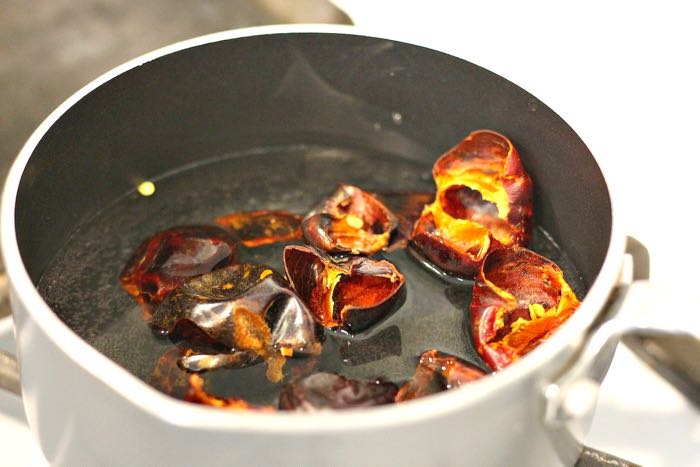
![Oil in Pan]()
Add 2 tablespoons cooking oil to pan and heat to medium hot.
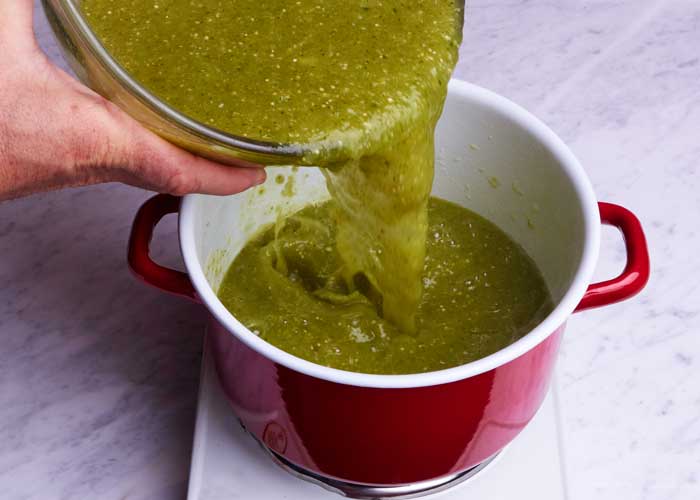
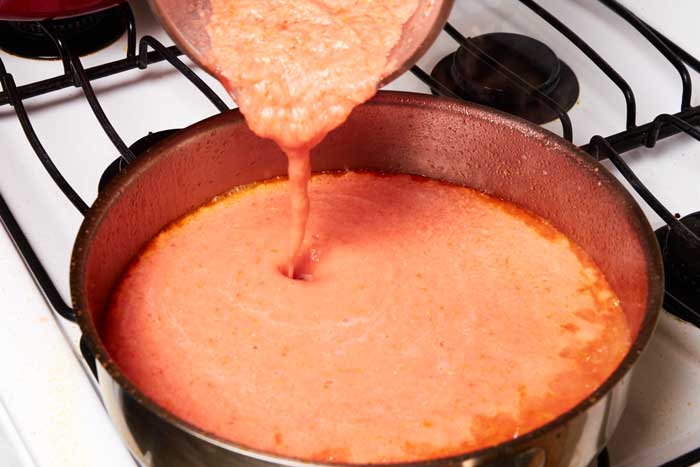
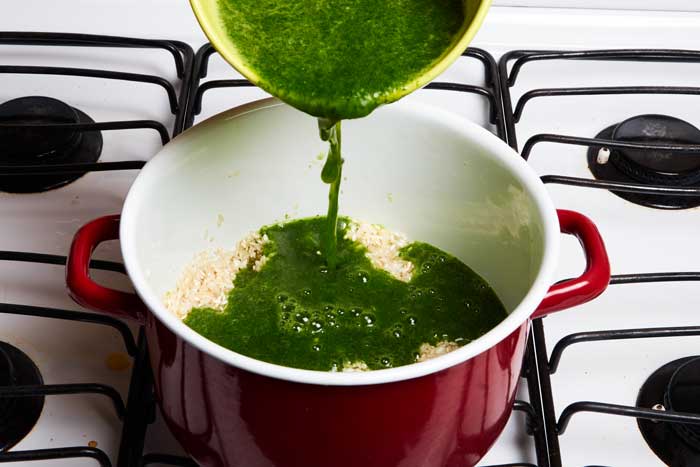
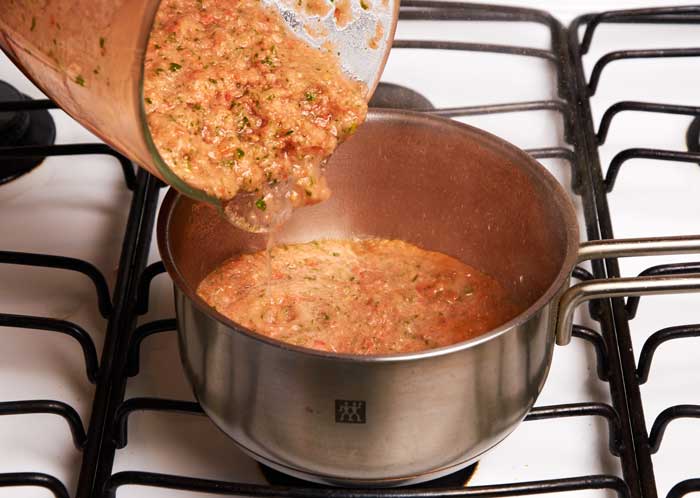
![Frying Tomato Salsa]()
Slowly pour the blended salsa into the hot oil.
Frying the salsa in hot oil helps develop a rich flavor. To fry it, slowly pour it into te hot oil. Be careful because it tends to spatter.
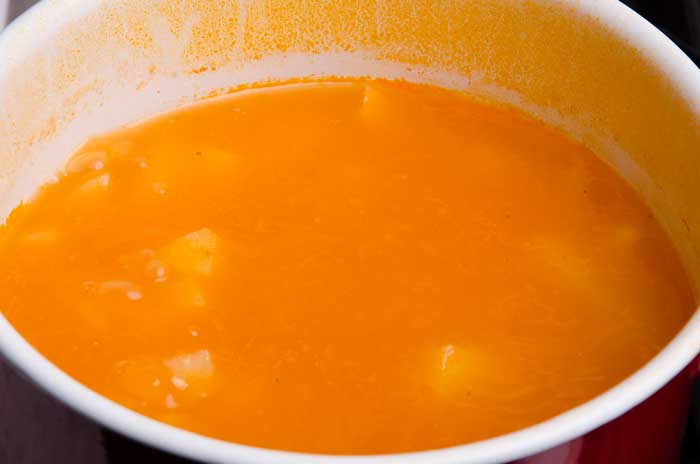
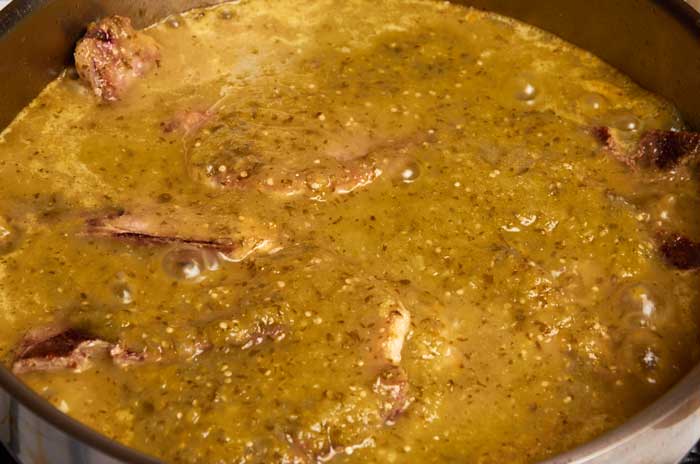
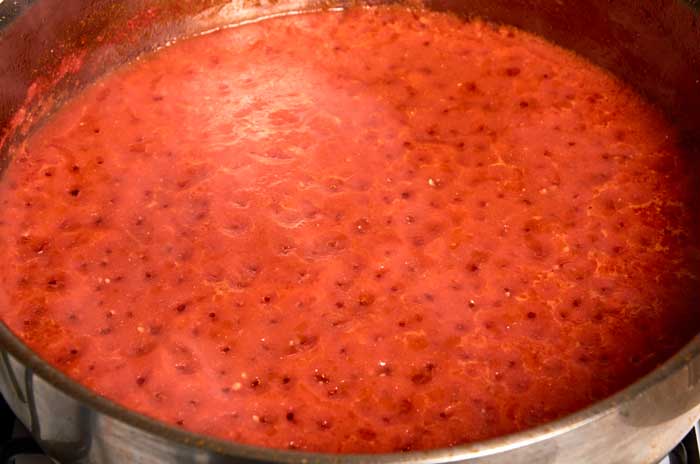
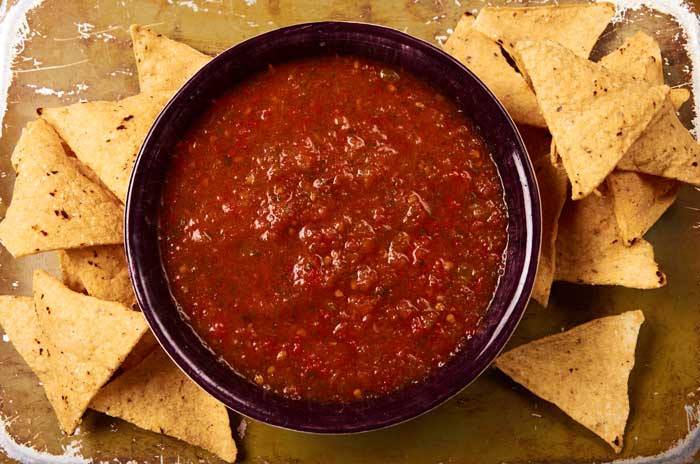
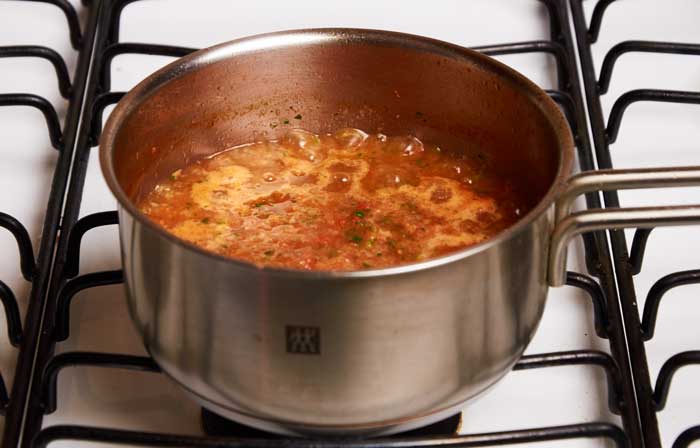
![Reduced Tomato Salsa]()
Simmer for 10 minutes until the salsa has thickened and darkened in color.
Simmer the salsa roja for about 10 minutes until it has thickened. As promised the salsa has turned a beautiful deep red color and the flavor has intensified.
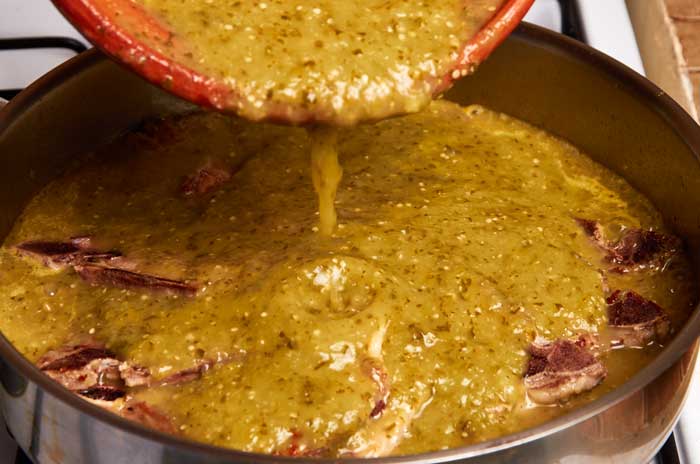
Prepare Filling
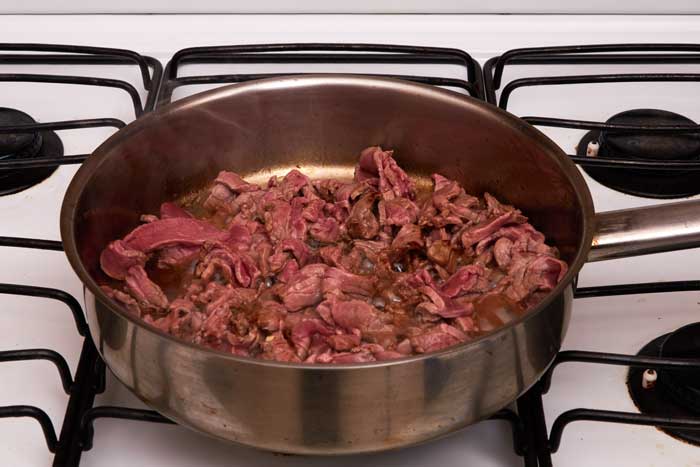
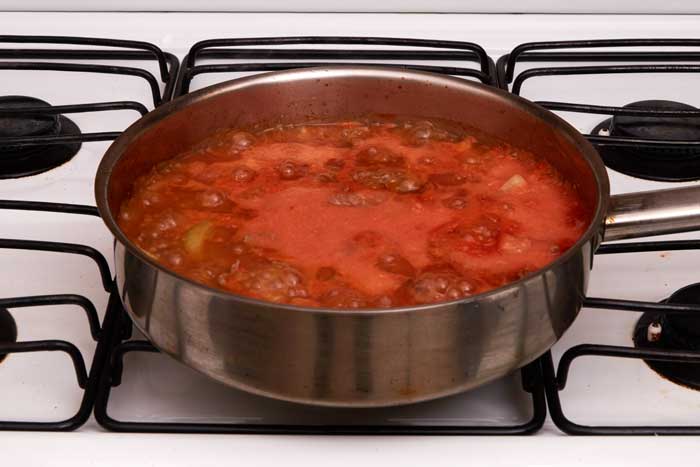
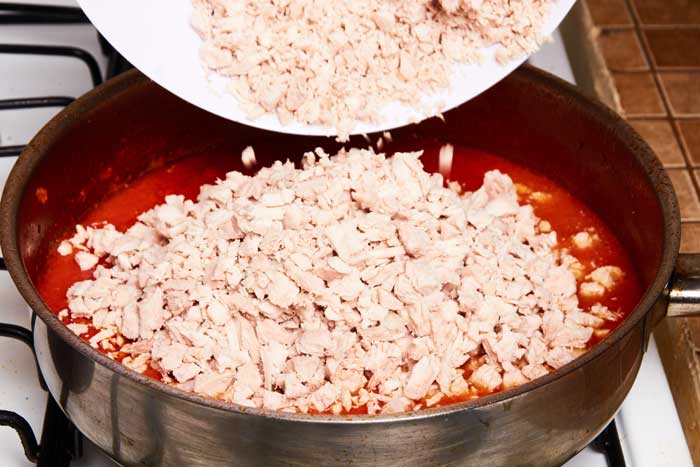
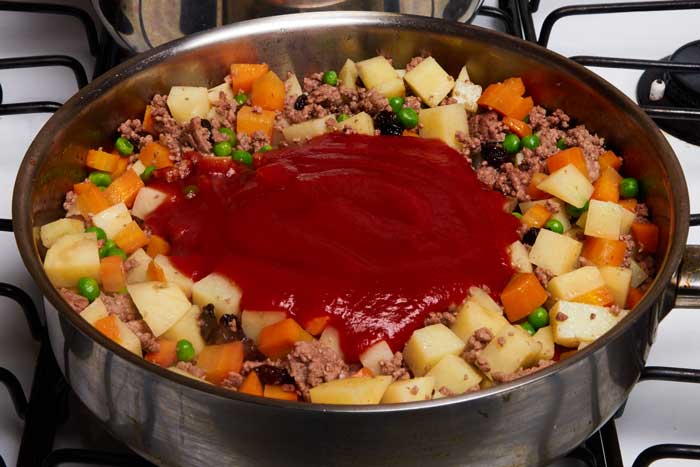
![Adding Pork to Salsa]()
Add the shredded chopped pork to 1 batch of the salsa roja.
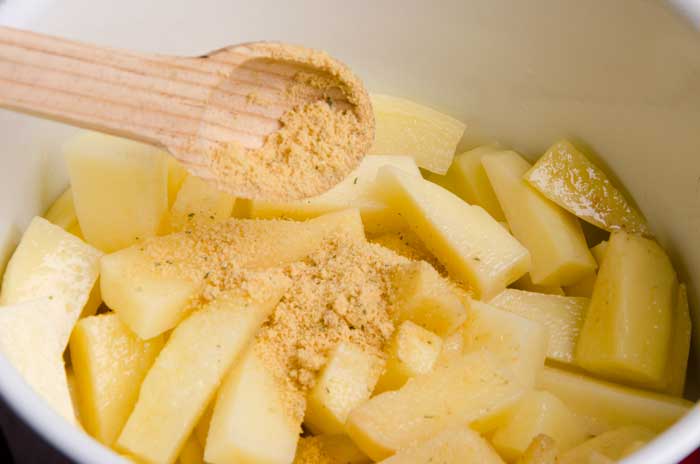
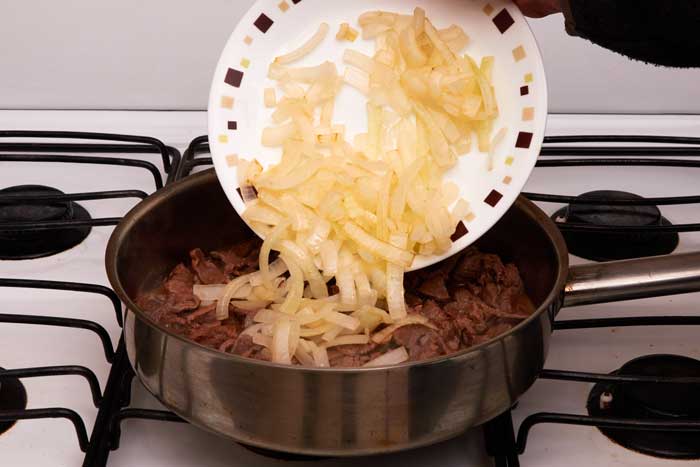
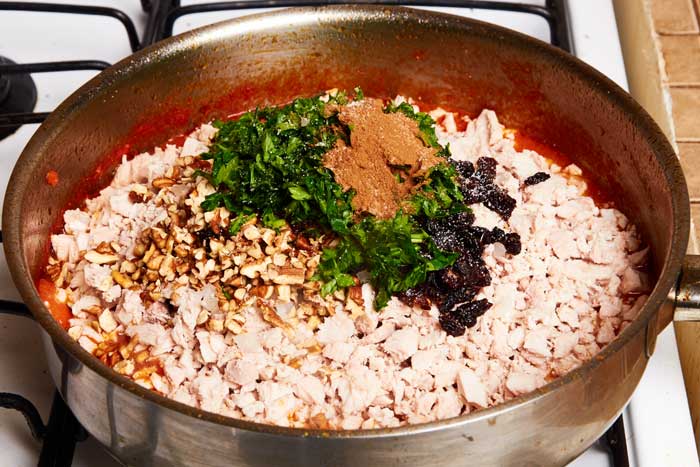
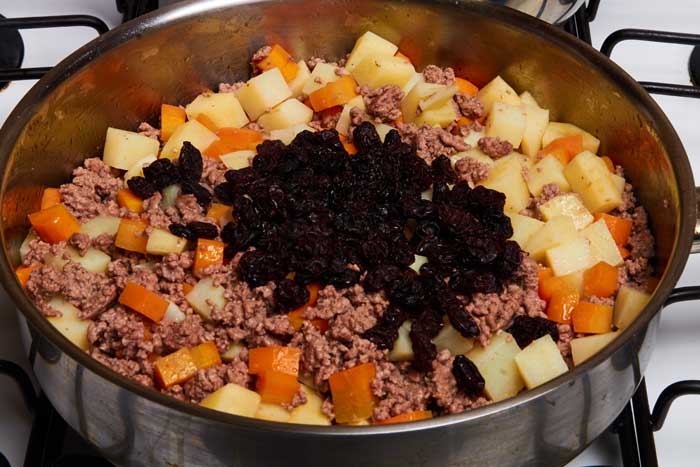
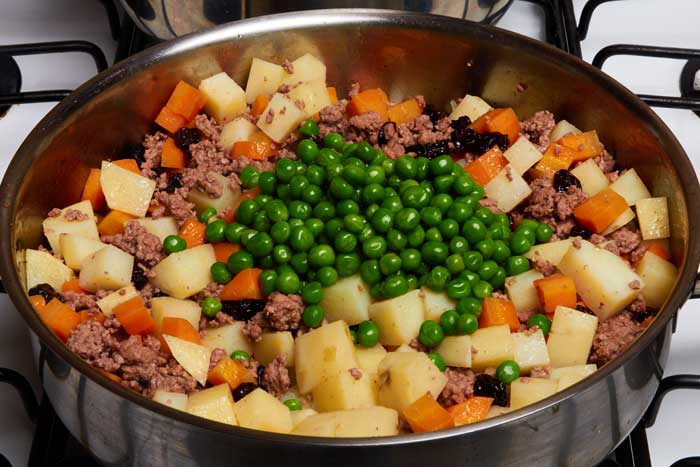
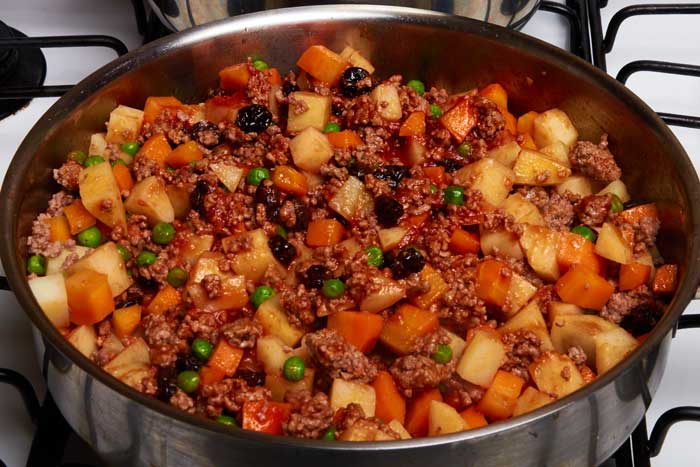
![Add Other Ingredients to Pork]()
Add the rest of the ingredients.
Then add the rest of the filling ingredients including 1 cup of pork broth and 2 tablespoons of apple cider vinegar.
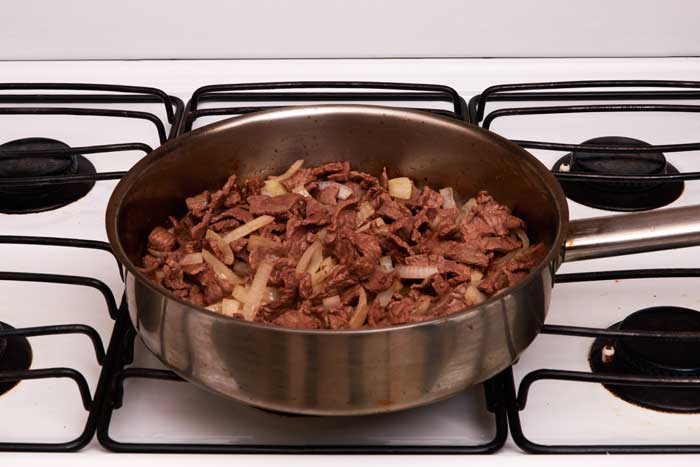
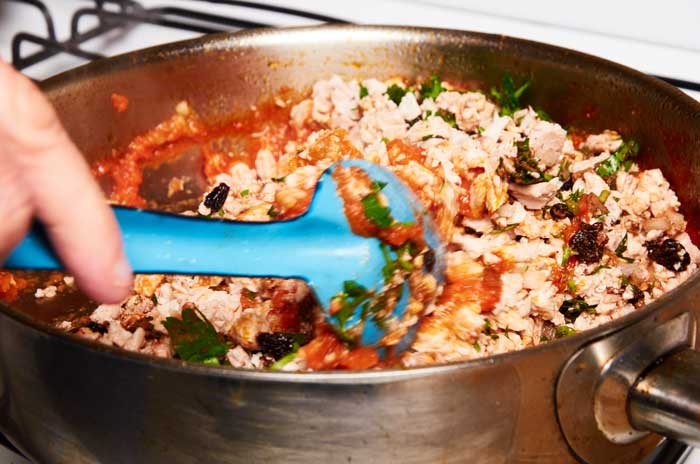
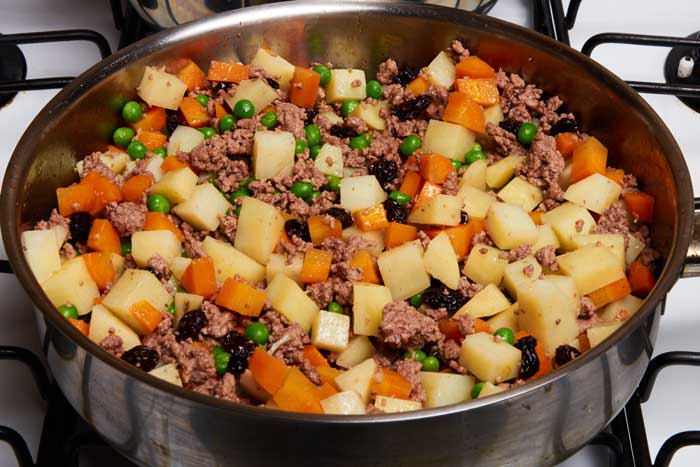
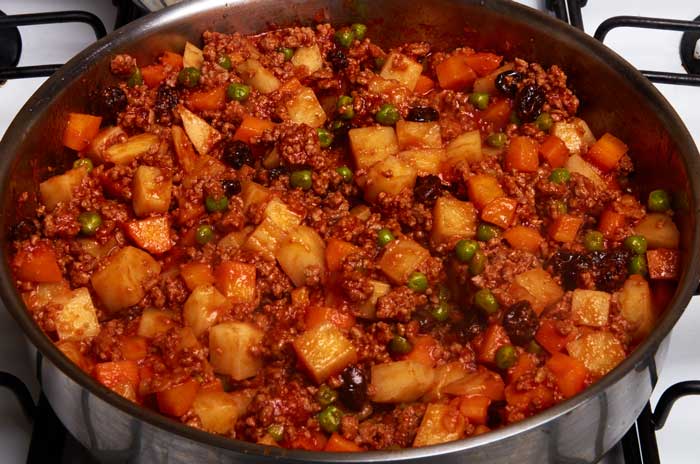
![Mixing Ingredients Chiles Rellenos Filling]()
Stir well to incorporate all of the ingredients
![Pork Filling Chiles Rellenos]()
It’s starting to look delicious.
Cook the filling over low heat for about 20 minutes until most, but not all of the liquid has evaporated. You want the filling to remain moist but it shouldn’t be dripping liquid when you fill the chiles.
Stuff and Close the Chiles
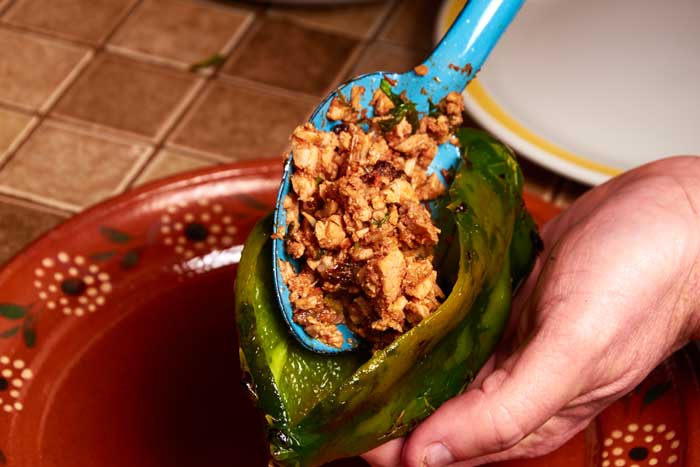
Stuff each chile with the pork filling. Do not overstuff the chiles because you won’t be able to close them with a toothpick and the filling will spill out. More isn’t always better. You want to maintain a balance between all of the ingredients.
![Stuffing a Chile Relleno]()
Stuff each chile with pork filling.
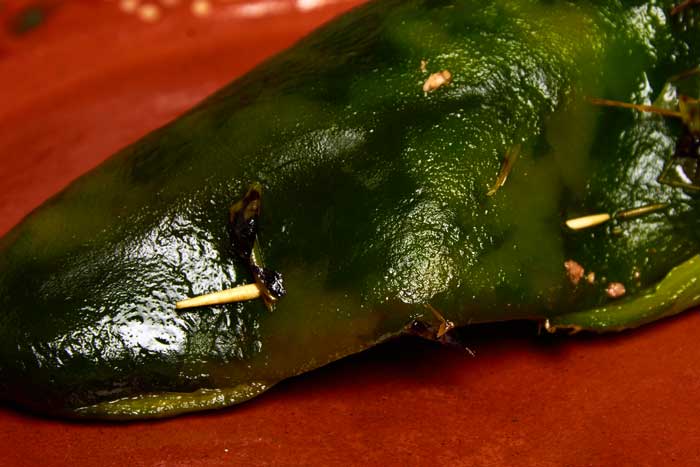
![Closing a Chile Relleno with Toothpick]()
Use a toothpick to close the Poblano chile.
![Stuffed Chile Poblano Closed with Toothpick]()
Properly closed chile. The stuffing won’t fall out out of this one.
Prepare the Batter
Traditional chiles rellenos are battered in a light egg batter. Follow these steps to make a perfect batter.
![Separating Egg Whites]()
Separate the egg whites.
Carefully separate the egg whites. If you get some yolk in the whites before they are whipped the batter won’t expand and become fluffy.
![Separated Egg Yolks]()
Separate the yolks.
Try not to break the yolks because you add them one at a time to the whipped whites.
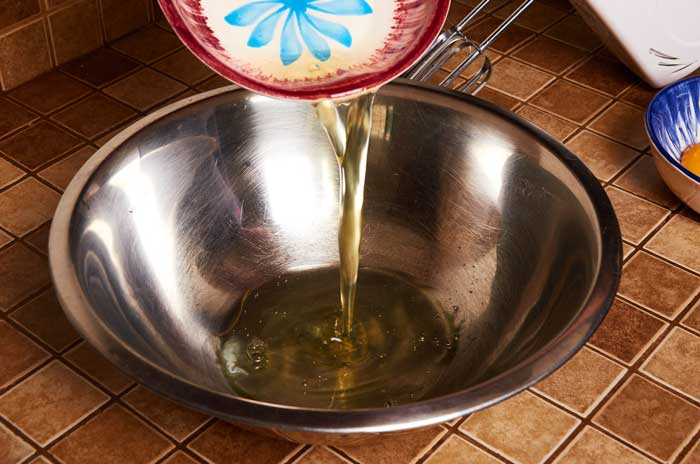
![Adding Egg Whites to Bowl]()
Pour the egg whites into a mixing bowl.
Start by pouring the egg whites into a large mixing bowl.
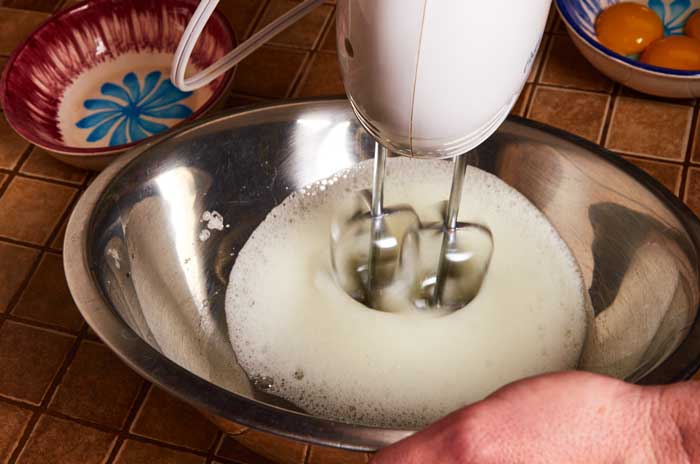
![Whip Egg Whites]()
Use an electric hand mixer to whip the egg whites.
Whip the egg whites with an electric hand mixer set on high.
![Whipping Egg Whites]()
Whip until the egg whites are fluffy and coat the back of a spoon.
It takes a few minutes of whipping for the egg whites to expand and become fluffy. When the egg whites have expanded greatly and the mixture starts to form peaks when you remove the beaters it is ready for the next step.
![Adding Yolks to Egg Whites]()
Add the yolks one at a time to the whipped egg whites.
Gently slide the yolks into the whipped egg whites one at a time. Add one and when it is fully incorporated add the next one until they are all incorporated.
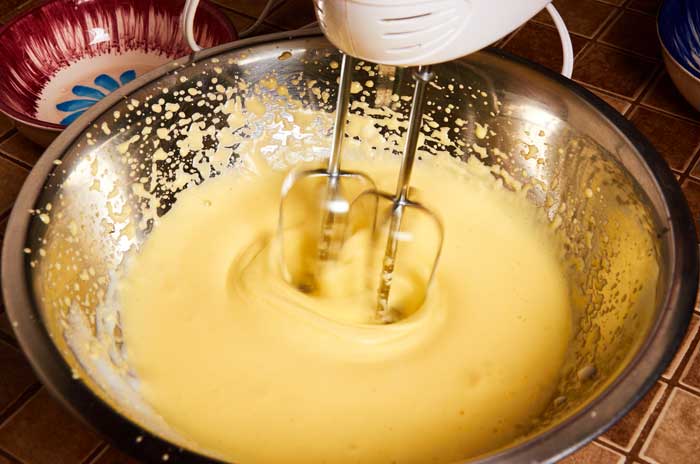
![Whipping Chile Relleno Batter]()
Whip until the yolks are incorporated and the batter is light and fluffy.
When the batter is smooth light and fluffy and coats the back of a wooden spoon without dripping it is ready to use. If it separates while you are in the process of battering and frying the chiles just whip it with your electric mixer for a few seconds to incorporate again.
Batter the Chiles
Once the chiles are stuffed, it’s time to batter them in the egg batter.
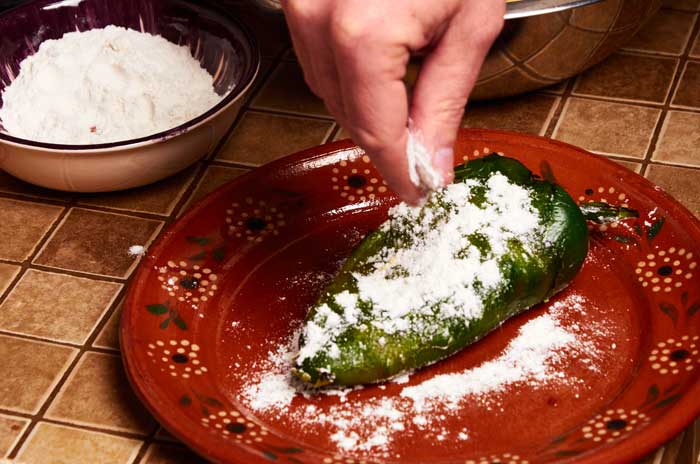
![Flouring a Chile Relleno]()
Flour all sides of the chile.
Dust all sides of the chile with flour which helps the egg batter stick to the chile.
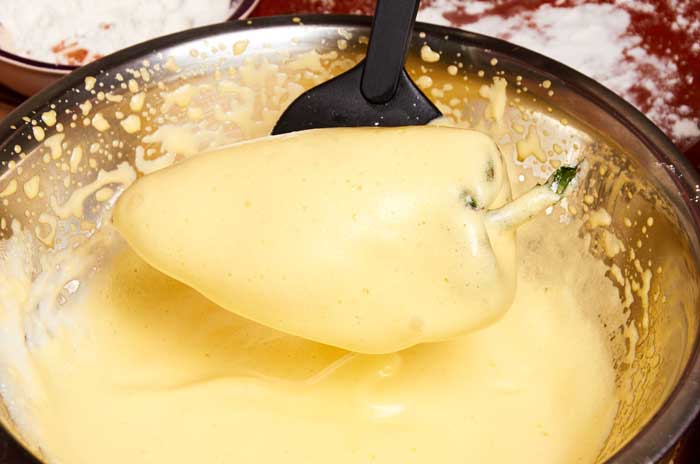
![Battering a Chile Relleno]()
Dip the floured chile in the egg batter to cover both sides.
Very gently dip the floured chile into the egg batter. Be sure to cover all of the chile in batter.
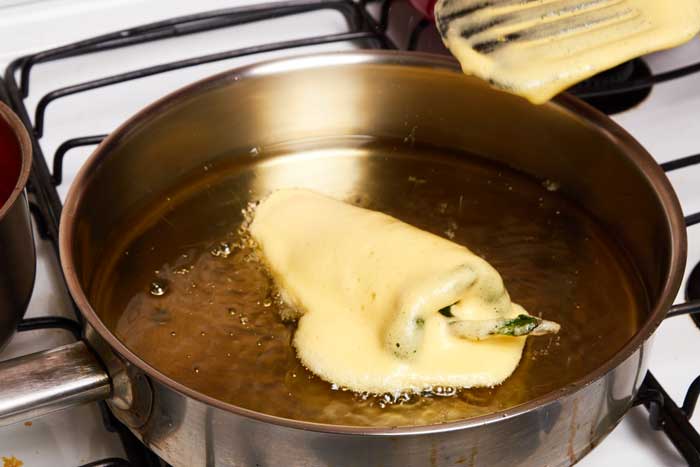
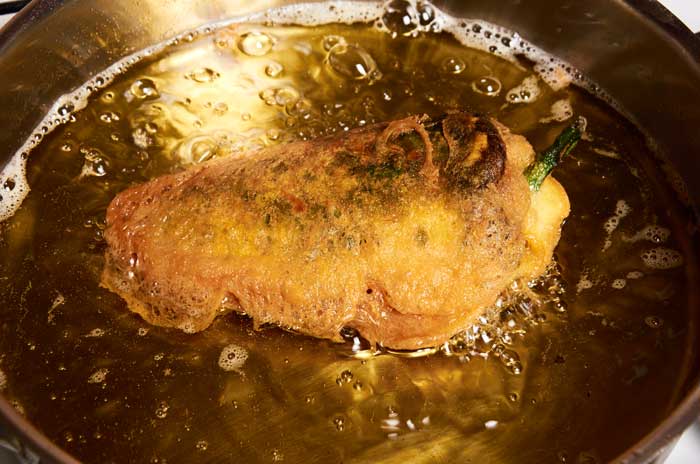
![Placing Chile Relleno in Hot Oil]()
Fry the chiles one or two at a time.
Very gently slide one of the stuffed chiles into your frying pan. Be very careful to not knock the batter off the chile.
![Flipping a Chile Relleno]()
Gently turn the chile to cook the other side.
When the bottom part of the chile has turned a golden color, use two spatulas to carefully turn the chile over. Be very careful to not knock the batter off the chile.
![Frying Chile Relleno]()
Looking good!
This chile is ready to be removed from the oil. The coating has turned a beautiful golden brown.
![Chiles Rellenos]()
Place the chiles on a plate with paper towels to drain excess oil.
Drain the chiles on a plate covered with paper towels for a couple of minutes to remove excess oil.
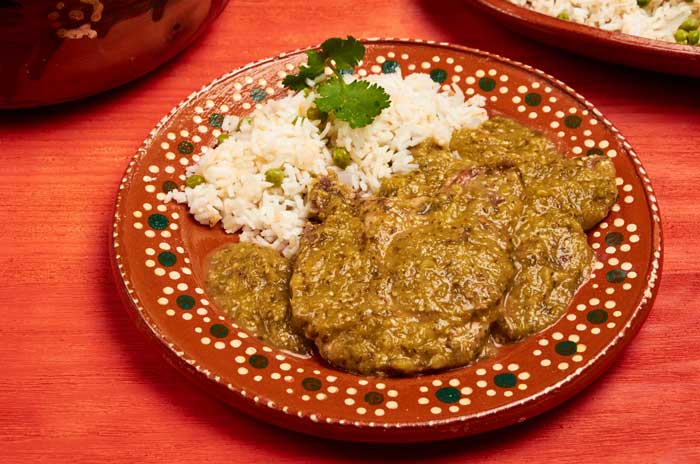
Serve the Chiles Rellenos
Now comes the best part, serving and eating the chiles rellenos. To serve, spoon some salsa roja onto a plate place the chile in the middle of the salsa and then spoon a bit more salsa over the chile. It is ready to serve. Chiles rellenos are served warm not piping hot.
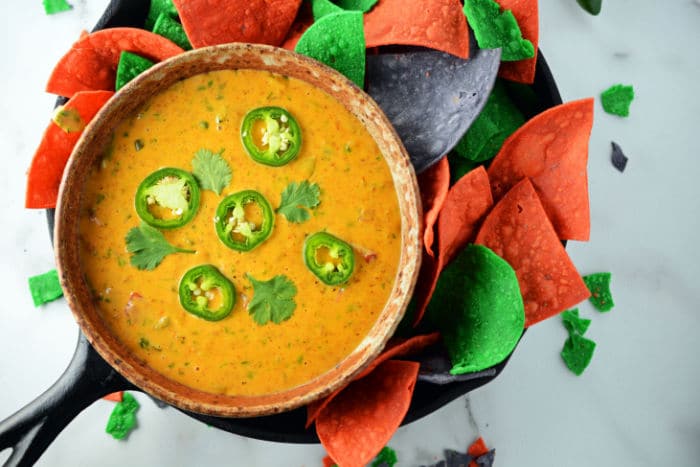
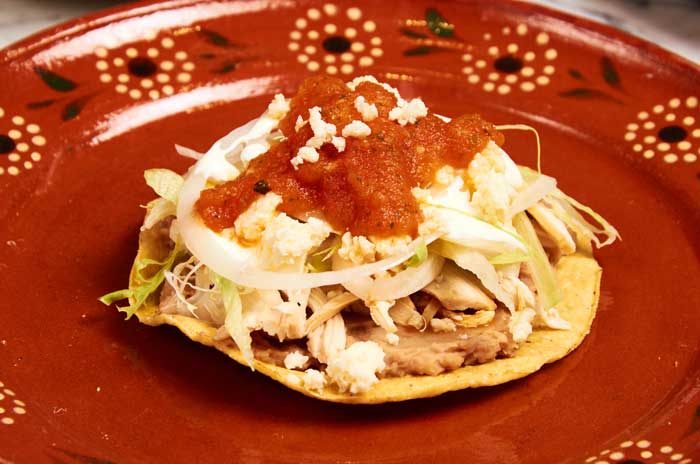
![Chile Relleno in Salsa Roja]()
A perfectly prepared chile relleno.
Doesn’t it look great?
Provecho!
Recipe Chiles Rellenos
Author: Douglas Cullen
Recipe type: Pork
Cuisine: Mexican
- 6 large Poblano chiles
- 2 pounds of pork loin roast
- 1 cup pork broth (made during preparation of the dish)
- 2 lbs Roma tomatoes
- 2 white onions
- 4 garlic cloves
- 3 large eggs
- ¼ cup chopped raisins
- ¼ cup coarsely chopped walnuts
- ½ cup chopped parsley
- ½ cup flour
- 1 teaspoon ground cinnamon
- ¼ teaspoon ground clove
- 2 tablespoons apple cider vinegar
- 4 cups cooking oil
- PREP THE POBLANO CHILES
- Follow these instructions to prep the Poblano chiles for use in the recipe
- PREPARE THE PORK
- Cut the pork into 1" to 1½" cubes
- Put the pork in a large pot
- Add ¼ of a white onion
- Add just enough water to the pot to cover the pork
- Bring the pork to a boil and reduce to a simmer and cook for 35 minutes
- When the pork is cooked remove from the water and reserve
- Continue simmering the pork broth until it has reduced down to 1 to 1¼ cups of liquid, about 10 more minutes
- PREPARE THE SALSA ROJA
- (Prepare 2 batches of this salsa)
- Add 1 pound of roughly chopped tomatoes, ½ of a white onion, 2 cloves of garlic, ½ teaspoon of salt and ¼ cup of water to your blender.
- Blend for 1 for 1 minute minute until smooth.
- Heat 2 tablespoons of oil in a pan
- Slowly pour the blended mixture into your pan with the hot oil
- Simmer for about 10 minutes to cook and thicken it
- PREPARE THE FILLING
- In a pan, to 1 batch of salsa, add the following ingredients:
- All of the chopped pork
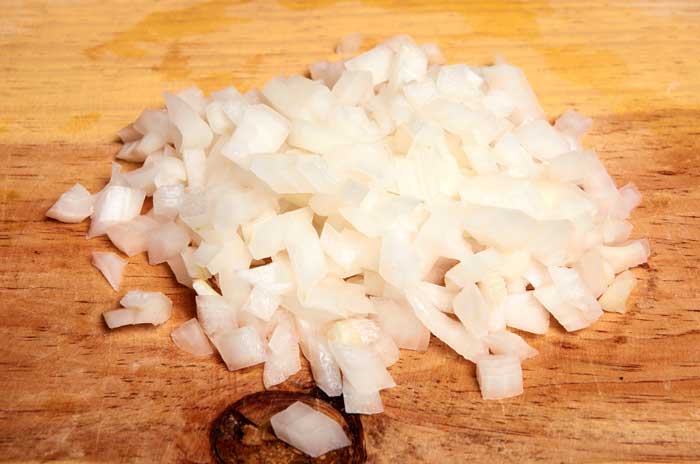
- -1/2 finely chopped onion
- -1/2 cup chopped parsley
- -1/4 cup coarsely chopped walnuts
- -1/4 chopped raisins
- -1/4 teaspoon ground cinnamon
- -1/4 teaspoon ground clove
- -2 tablespoons apple cider vinegar
- -1 cup pork broth
- Stir to mix all ingredients
- Cook over low heat stirring occasionally for approximately 20 minutes until moist of the moisture has evaporated from the filling
- PREPARE THE BATTER
- Separate the whites and yolks from 3 eggs
- Put the egg whites in a large mixing bowl
- Whip the egg whites with an electric beater until the egg whites are fluffy and can coat the back of a spoon
- Add 1 egg yolk to the whipped egg whites and whip until incorporated
- Add another egg yolk and whip until incorporated
- Add the 3rd egg yolk and whip until incorporated
- The batter is ready when it is light, smooth and fluffy
- BATTERING THE CHILES
- Sprinkle flour on all sides of each stuffed chile
- With a spatula very gently dip each stuffed chile into the batter. Be sure that the batter coats all sides of the chile
- FRYING THE CHILES
- Preheat 4 cups oil to medium hot in a frying pan
- Gently lower the battered chiles into the hot oil
- Fry the chiles 1 or 2 at a time. Don't overcrowd them
- When the bottom of the chile has turned golden brown turn the chile with 2 spatulas
- Place the fried chiles on a plate covered in paper towels to remove excess oil
- SERVING THE CHILES RELLENOS
- To serve, spoon some salsa onto a plate, place the chile relleno in the middle of the salsa and then spoon a little more salsa over the chile.
If your egg batter starts to separate while you are battering chiles, a few seconds whipping with the electric beater will incorporate it again.
Depending on the size of your chiles, you will probably have some pork filling left over. The left over filling makes a great taco.
3.5.3208
Other Recipes with Poblano Chiles
Rajas con Queso